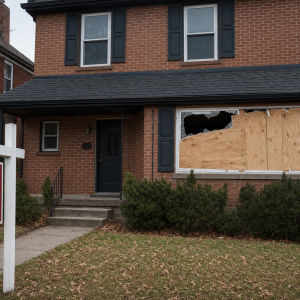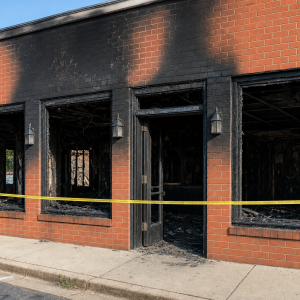
When a storm finally passes, the chaos it leaves behind can feel paralyzing. But what you do in these first few hours is absolutely critical for your storm damage claim. Your number one priority is always safety—check for immediate dangers like downed power lines or an unstable roof. Once you know it’s safe, your mission is to document everything before a single thing gets moved or repaired.
If you have any questions about anything claim related we are here to help. Have your claim questions answered at NO COST. Call 919-400-6440 to speak with a licensed Public Insurance Adjuster.
Your First Steps After the Storm Passes
The immediate aftermath of a storm is disorienting, to say the least. But the actions you take right now lay the entire foundation for your insurance claim. Before you even think about grabbing a rake or a trash bag, you need to shift your focus to two things: keeping your family safe and preserving evidence of the damage. Weather and climate disasters rack up billions in damages every year, and your ability to prove your losses begins the second the wind dies down.
If your home feels unsafe—if you smell gas, see sagging ceilings, or hear creaking—get out immediately and call for help. Don’t take any chances. And never, ever assume a downed power line is dead. Treat every wire on the ground as if it’s live. Your well-being comes first, always.
Create Compelling Visual Evidence
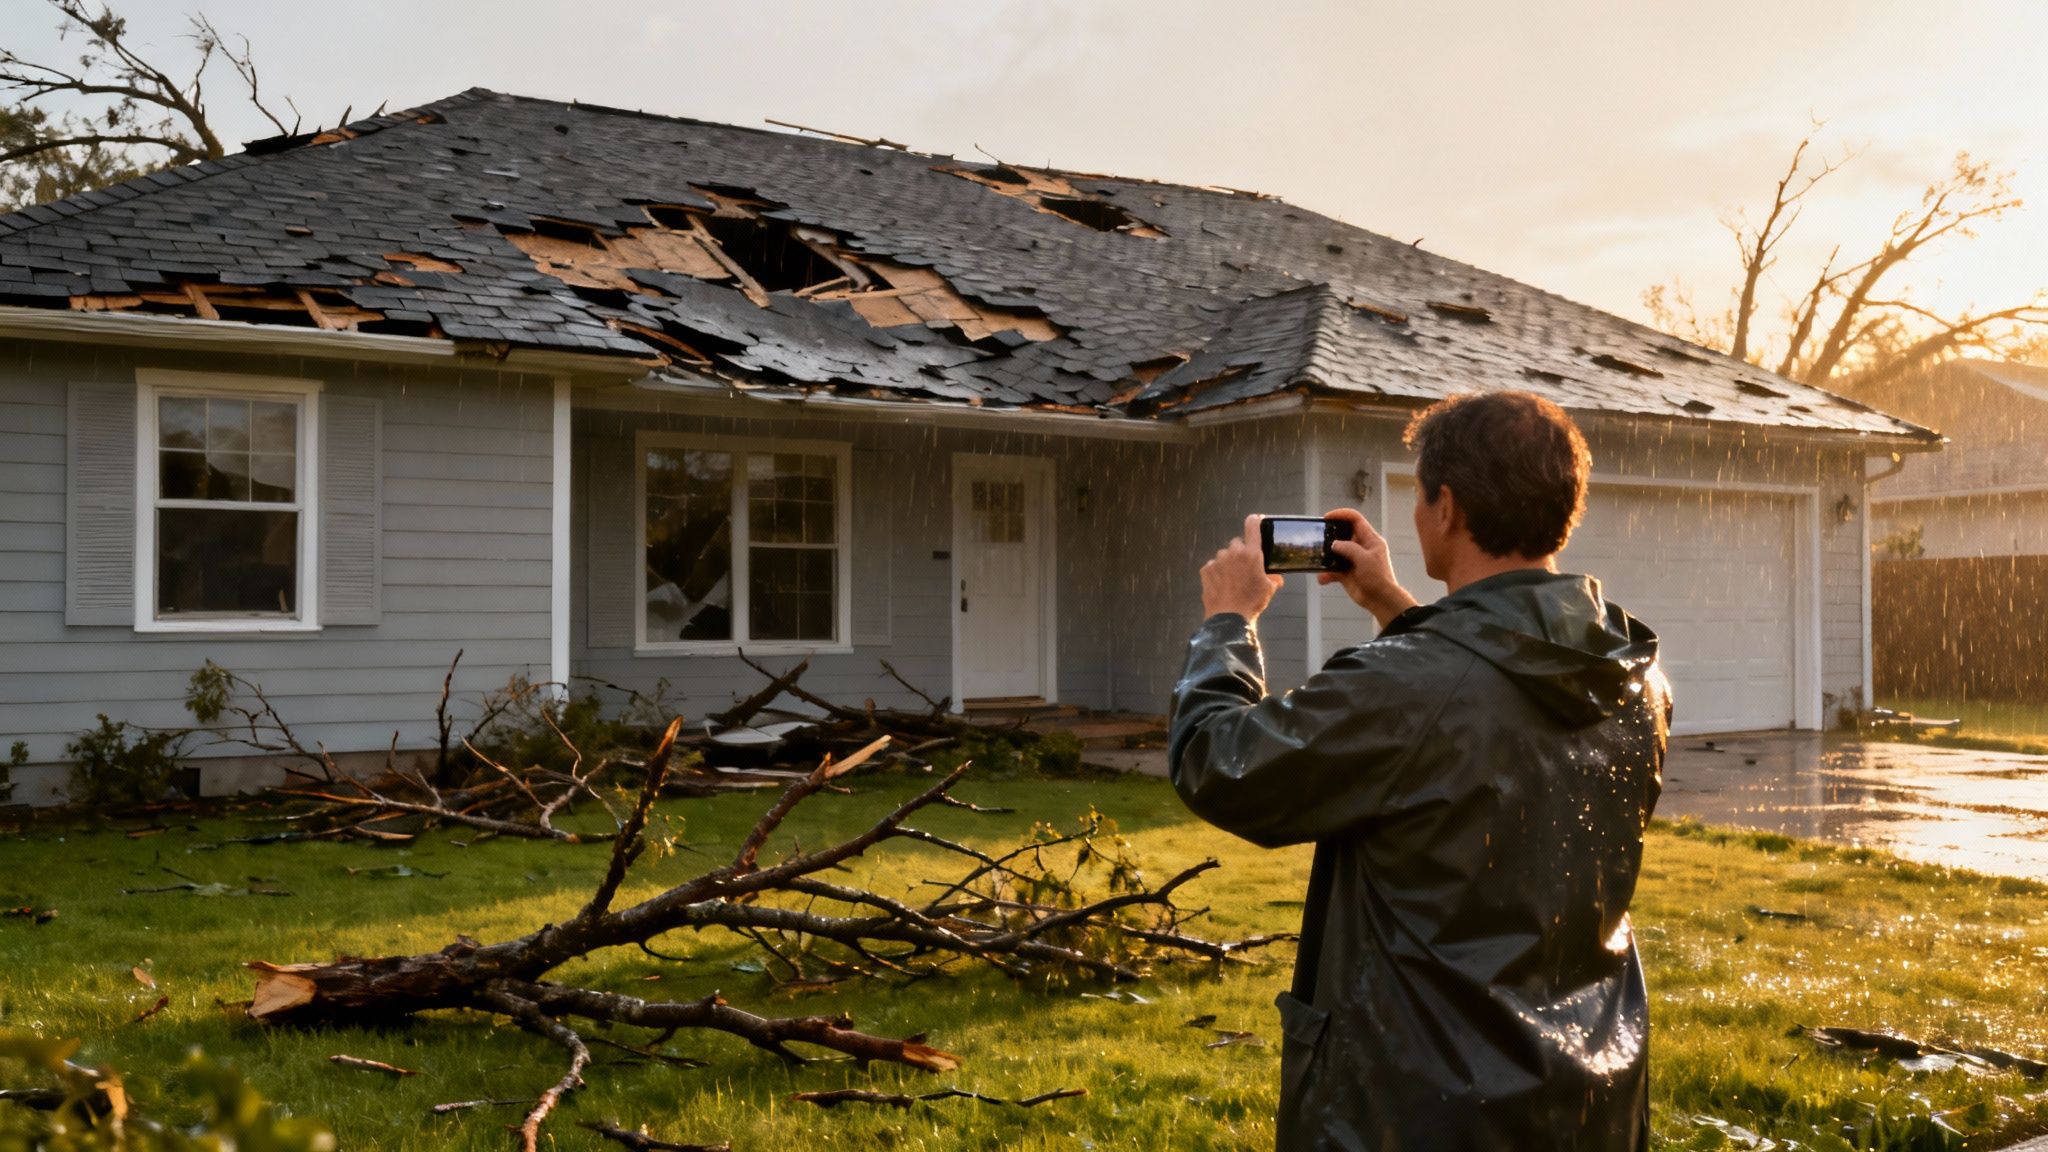
Once you’ve established the area is safe, your smartphone is your single most important tool. You’re not just taking a few quick pictures; you’re creating a detailed visual story of what the storm did to your property. This visual proof is often the most powerful weapon in your arsenal when it comes to your storm damage claim.
Start outside. Take wide shots and videos to capture the big picture, showing how the storm impacted your entire property. Then, get up close. Methodically document the specific points of failure.
Your exterior photo-dump should include:
- Roofing Damage: Get clear shots of any missing, cracked, or lifted shingles.
- Siding and Gutters: Photograph dents from hail, cracks from wind, or sections that have been ripped away.
- Windows and Doors: Document any shattered glass, damaged frames, or broken seals.
- Landscaping and Fences: Make sure to show any uprooted trees that fell on your property or sections of broken fencing.
One of the biggest mistakes I see homeowners make is cleaning up too quickly. The urge to restore order is strong, I get it. But moving debris or throwing out damaged items before they’re fully documented can seriously weaken your claim. The insurance company needs to see the full scope of the loss.
Documenting Interior and Personal Property Damage
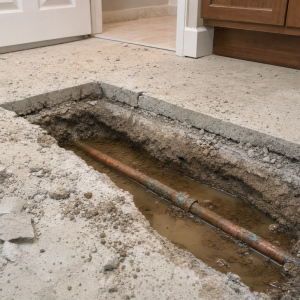
After you’ve thoroughly recorded the exterior damage, it’s time to head inside. Water is almost always the biggest enemy after the initial impact, so look for stains on ceilings and walls, feel for damp carpets, and check for buckled flooring. Photograph these problem areas from a few different angles, using a flashlight to highlight the moisture if you have to.
Now comes the tedious part that so many people skip in the rush: creating an inventory of all your damaged personal belongings. This is non-negotiable. Go through your home room by room and make a list of every single item that was damaged or destroyed.
For each item, try to jot down:
- A quick description (e.g., “65-inch Samsung Smart TV”)
- The brand and model number, if you can find it
- Its approximate age and when you bought it
- What you think it’s worth or what you paid for it
Take pictures of these damaged items, too. Better yet, do a slow video walkthrough of each room, narrating out loud what you see and listing the affected belongings as you go. This detailed inventory stops you from forgetting smaller items later on and gives the adjuster the hard data they need to justify paying you what you’re owed for everything you’ve lost.
Decoding Your Homeowners Insurance Policy
Your homeowners insurance policy is the rulebook for your storm damage claim. The problem? It often reads like it was written in a foreign language. Taking the time to understand a few key terms before you ever file can completely shift the balance of power in your favor and prepare you to fight for what you’re owed.
Think of it as the contract that spells out exactly what your insurance company is obligated to do for you. The fine print on these pages can mean the difference of thousands—or even tens of thousands—of dollars in your final check.
RCV vs. ACV: The Most Important Acronyms
One of the single most critical details in your policy is how your property is valued. It almost always comes down to two options: Replacement Cost Value (RCV) and Actual Cash Value (ACV). Getting this right is non-negotiable if you want a successful claim.
- Replacement Cost Value (RCV): This is the good stuff. It pays to replace your damaged property with brand-new materials of similar kind and quality. There’s no deduction for age or wear and tear. It’s the cost to make you whole again at today’s prices.
- Actual Cash Value (ACV): This coverage pays you for what your damaged property was worth the moment it was damaged. It’s the replacement cost minus depreciation for age and use.
Let’s put this into a real-world scenario. Imagine a hailstorm absolutely wrecks your 10-year-old asphalt shingle roof, which had a 20-year expected lifespan. To replace that entire roof today would cost $20,000.
With an ACV policy, the insurer would argue the roof has lost 50% of its value ($10,000 in depreciation). They’d cut you a check for $10,000, and you’d be stuck covering the other half yourself.
But with an RCV policy, you’d get the full $20,000 needed for a brand-new roof (usually paid in two installments, with the depreciation released after the work is done). That’s the difference between a minor inconvenience and a major financial hit.
Knowing which coverage you have before you file is essential. It frames the entire negotiation and sets the baseline for what a fair settlement should look like. Don’t guess—pull out your policy and confirm it.
Understanding Your Deductible
Your deductible is simply the amount of money you have to cover out-of-pocket before your insurance kicks in. It’s not a bill you pay to someone; it’s just subtracted from your final claim settlement. For storm claims, you’ll typically see one of two types.
- Fixed Dollar Amount: This is straightforward. It’s a set amount, like $1,000 or $2,500. If your approved storm damage totals $15,000 and you have a $1,000 deductible, the insurance company pays you $14,000.
- Percentage-Based: This one catches a lot of people by surprise, especially with hurricanes or other “named storms.” The deductible is a percentage—usually 1% to 5%—of your home’s total insured value (found under Dwelling Coverage), not the amount of damage. If your home is insured for $400,000 and you have a 2% hurricane deductible, you’re on the hook for the first $8,000 of repairs.
Watch for Common Exclusions
Finally, every policy has a list of things it won’t cover. These are the exclusions. When it comes to storm damage claims, the biggest and most misunderstood exclusion is flooding.
Standard homeowners policies do not cover damage from rising water or storm surge. Period.
That requires a separate flood insurance policy, which most people get through the National Flood Insurance Program (NFIP). If a hurricane blows the shingles off your roof (covered) but also causes a storm surge that floods your first floor (not covered), you’re looking at two different claims under two separate policies. Knowing this ahead of time prevents devastating surprises when you need help the most.
Getting Your Storm Damage Claim Filed

You’ve got your documentation ready and you’ve reviewed your policy. Now it’s time to actually get the ball rolling and formally file your storm damage claim. That first phone call to your insurance company really sets the tone for everything that follows. Being prepared shows them you’re serious and organized, which can prevent a lot of headaches and delays right from the start.
The main objective of this first contact is simple: get a claim number. This number is your golden ticket—it’s the official ID for your case, and you’ll need it for every single interaction from here on out. Before you even think about dialing, get your essential information gathered in one place so you can state your case clearly.
Make sure you have this info handy for the call:
- Your insurance policy number.
- The exact date and approximate time the storm damage happened.
- A straightforward, factual description of what you’ve seen.
- Contact details for any contractors you’ve had to call for emergency fixes.
The Insurance Adjuster Inspection
Once your claim is officially in the system, your insurer will assign an adjuster to your case. This person is an employee of the insurance company, and their entire job is to evaluate the damage and calculate the loss based on what your policy covers. They’ll schedule a time to come out and inspect your property in person.
It is absolutely crucial that you are there for this inspection. You know your home better than anyone, and your presence ensures nothing gets missed. Walk the property with the adjuster and point out every single area of concern you documented earlier. Show them your photos and videos—this evidence creates a powerful “before and after” picture that’s hard to argue with.
For tricky damage like hail impacts, which can be subtle and easily overlooked, being prepared is key. You can get a better handle on identifying this kind of damage by reading our article on hail damage roof insurance claims.
Remember, the company adjuster works for the insurance company. While many are professionals, their loyalty is to their employer’s financial interests, not yours. Your job is to make sure they see the full, unvarnished picture of your loss.
Keep a Detailed Communication Log
Starting with that very first phone call, you need to keep a meticulous record of every single interaction related to your claim. This communication log will become one of your most powerful tools, especially if things get complicated or you run into delays down the road. A simple notebook or a Word doc is all you need.
For every phone call, email, or piece of mail, jot down the key details.
| Communication Type | What to Record |
|---|---|
| Phone Call | Date, time, name of the person you spoke with, and a summary of the conversation. |
| Date sent or received, subject line, and a quick note on the key points. | |
| Letter | Date it was sent or received, and always keep a physical or digital copy. |
This isn’t just about jogging your memory. This log creates an official timeline of your claim, proving your diligence and giving you a factual foundation for any follow-up you need to do. It’s a simple habit that gives you immense leverage, making sure you can hold your insurer accountable throughout the entire storm damage claim process. This step alone is one of the best ways to protect your own interests.
Negotiating a Fair Insurance Settlement
When that first settlement offer from the insurance company lands in your inbox, it’s tempting to breathe a sigh of relief. But don’t pop the champagne just yet. That first number is almost never their final, best offer—it’s just an opening bid.
Think of it as the start of a business negotiation, not the end of the road. Your insurer is running a for-profit business, and their initial proposal reflects that. Now is the time to put all that documentation you gathered to work and make sure you get what you’re owed. This isn’t about being confrontational; it’s about being thorough.
You’re simply holding them to the terms of the policy you’ve been paying for, and that means getting enough to make your property whole again.
Analyzing the Adjuster’s Estimate Line by Line
Your adjuster will send over a detailed estimate, usually generated with software like Xactimate. It breaks down every part of the repair into line items. Don’t just glance at the total at the bottom. You need to comb through this document line by line.
I’ve seen it a hundred times—the devil is truly in the details. Look for these common gotchas:
- Cheap Materials: Did they price for standard 3-tab shingles when you had architectural ones? Your policy likely requires materials of “like kind and quality,” so make sure they’re not downgrading you to save a buck.
- Lowball Labor Rates: Are the labor costs based on national averages instead of what contractors actually charge in your town? This is a huge one, especially in high-demand areas after a major storm.
- Missed Damage: Pull out your own photos and notes. Did they completely forget about the dented gutters, the cracked window sills, or the water stains that are just starting to show on the ceiling? These “small” items add up to thousands.
- Bad Math: It happens more than you’d think. Double-check all the measurements. A simple miscalculation of your roof’s square footage can short you a significant amount.
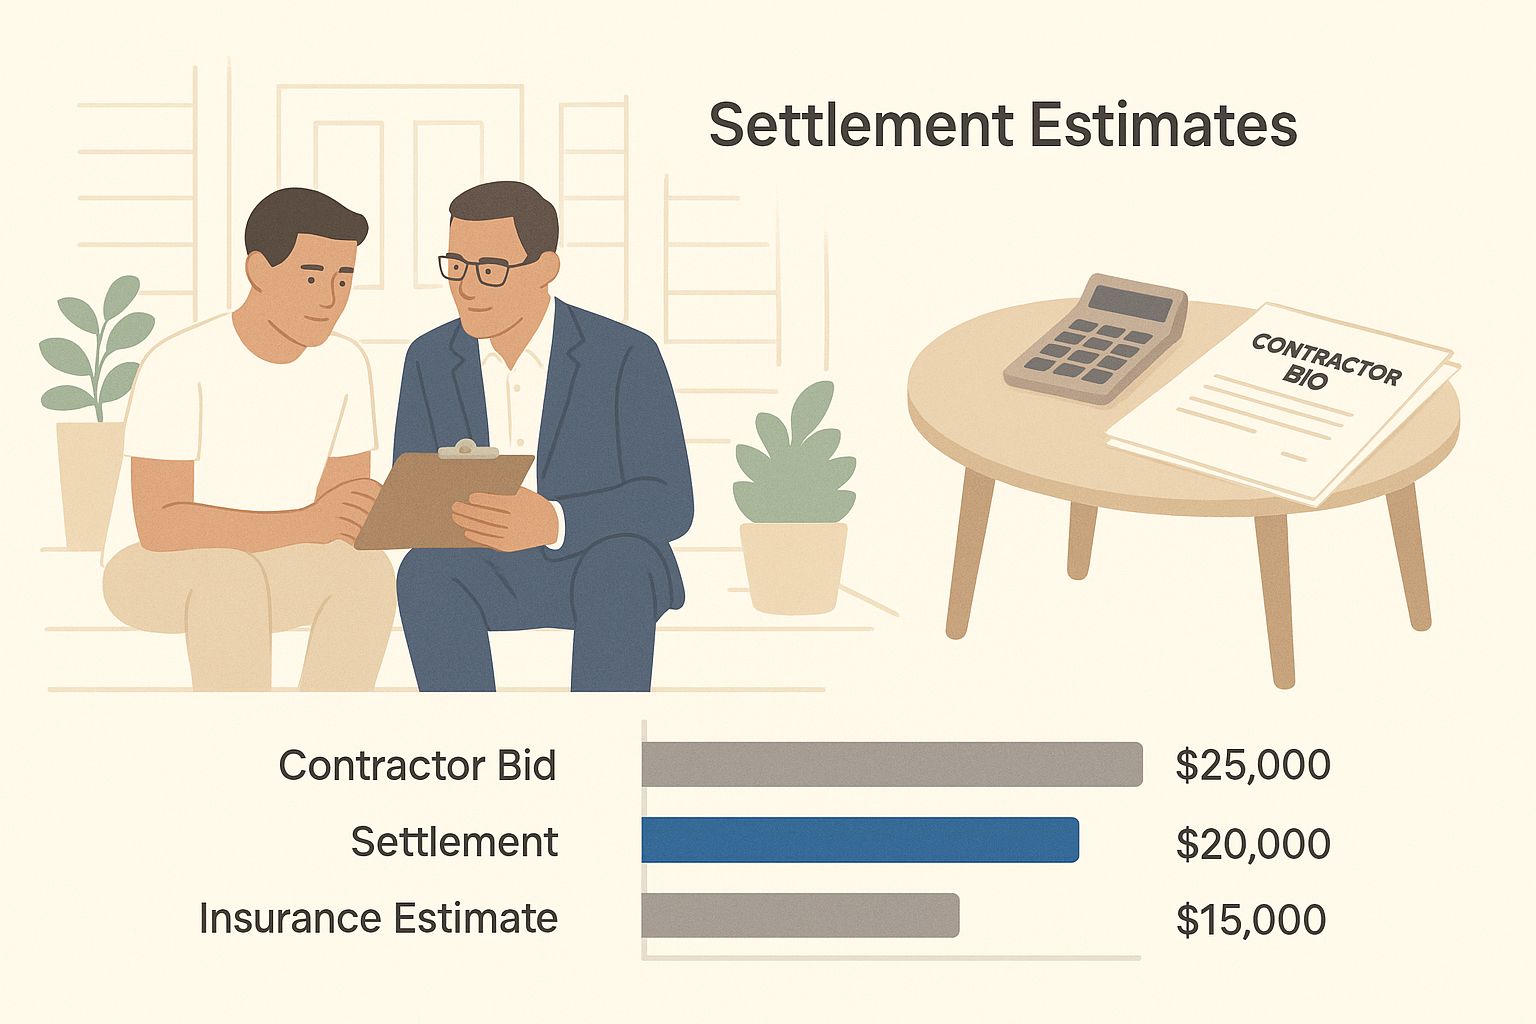
Your independent contractor bids are your most powerful negotiation tool. They provide a real-world, market-based price for the repairs, which is much harder for an insurer to dispute than a software-generated estimate.
Crafting a Professional Counter-Offer
Once you’ve found the gaps in their estimate, it’s time to build your case for a counter-offer. You can’t just say, “I need more money.” You have to show them exactly why, using hard evidence.
Lay out your response in a clear, organized way. Thank them for their initial offer, then walk them through each discrepancy you found, one by one.
For instance, if they came in low on the roof, you could write something like: “Your estimate allocates $8,500 for the roof replacement. However, my attached bid from a licensed local roofer shows the actual cost using comparable materials is $11,200. The difference appears to be in the outdated labor rates and the cost of the specific architectural shingle required.”
This keeps the whole conversation professional and focused on the facts. You’re moving it from an emotional plea to a straightforward business discussion.
Communication Is Key
How you say it is just as important as what you say. Getting angry or aggressive will only make the adjuster dig in their heels. Keep a firm, professional, and courteous tone in every email and phone call.
Stick to clear, non-emotional language:
- “Could you please clarify the basis for this valuation?”
- “My documentation suggests this area of damage was overlooked during the inspection.”
- “I am providing two additional contractor estimates that support a higher repair cost.”
And please, keep a paper trail. After any phone conversation, send a quick email recapping what you talked about. This creates a written record that keeps everyone honest and accountable. If you find yourself hitting a wall, you can get more insight by navigating insurance claims and disputes.
By staying organized and persistent, you dramatically increase your odds of getting a fair settlement for your storm damage claim. This is how you ensure you have the funds to fix your home the right way, without paying out-of-pocket for damage that should have been covered.
Should You Hire a Public Adjuster
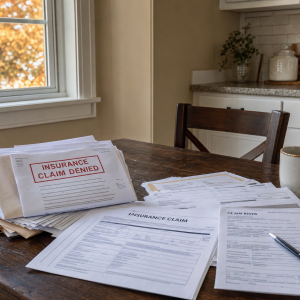
After weeks of phone calls and emails with your insurance company, you might feel like you’re talking to a brick wall. The settlement offer for your storm damage claim is a joke, the adjuster seems to be ignoring critical evidence you sent over, or worse—you just got a flat-out denial letter.
This is that pivotal moment when you need to decide if it’s time to bring in a professional advocate: a public adjuster.
Unlike the adjuster your insurance company sends out—who works to protect the insurer’s bottom line—a public adjuster works exclusively for you, the policyholder. Their entire job is to manage your claim, from re-evaluating the damage from the ground up to negotiating directly with the carrier. Their goal is simple: get you the maximum settlement you’re entitled to.
When a Public Adjuster Makes Sense
Look, not every claim needs a public adjuster. If you just have a few shingles blown off in a windstorm, you can probably handle that on your own. But when you’re dealing with complex, high-value, or disputed claims, their expertise can be a complete game-changer.
You should seriously think about hiring one if you’re in any of these situations:
- The Damage Is Catastrophic: Your home is a total loss or has suffered major structural damage from a hurricane or tornado. The sheer scope of a claim like this is just too much for one person to handle.
- The Claim Is Complicated: Maybe a lightning strike caused a fire that was then put out with water. Now you have fire, smoke, and water damage. These claims have a ton of moving parts that are easy to get wrong.
- You’ve Received a Lowball Offer: The insurer’s offer won’t even cover half of what your trusted contractor quoted for proper repairs. A public adjuster knows how to build a powerful case to close that gap.
- Your Claim Was Denied: A denial isn’t always the end of the road. A public adjuster can reopen the claim, armed with new evidence and a professional assessment that the insurance company can’t easily dismiss.
Understanding Their Role and Fees
A public adjuster starts by diving deep into the fine print of your policy and the true extent of your loss. They’ll conduct their own thorough inspection, create a detailed scope of work using industry-standard software, and handle all the frustrating back-and-forth with your insurer. You can learn more about what a public insurance adjuster does in our detailed guide.
They don’t charge you anything upfront. Instead, they work on a contingency basis, typically charging a percentage of the final claim settlement—usually between 10% and 20%.
That means they only get paid if they get you paid. This setup gives them every incentive to fight for the highest possible settlement on your behalf.
Before we go further, it’s crucial to understand who is sitting on each side of the table.
Insurance Adjuster vs Public Adjuster
This table breaks down the key differences between the adjuster your insurance company provides and the public adjuster you can hire.
| Attribute | Insurance Adjuster (Company/Independent) | Public Adjuster |
|---|---|---|
| Who They Represent | The insurance company | You, the policyholder |
| Primary Goal | Minimize the insurer’s financial payout | Maximize your financial settlement |
| Who Pays Them | The insurance company (their salary) | You (a % of the settlement) |
| Licensing | Licensed by the state to represent insurers | Licensed by the state to represent the public |
| Allegiance | To their employer, the insurance carrier | To their client, the policyholder |
The takeaway is clear: one adjuster works for the company paying the claim, while the other works for the person receiving it.
Think of it this way: the insurance company has a team of experts on their side. A public adjuster is your expert, leveling the playing field and ensuring your voice is heard and your rights are protected.
Imagine a huge hailstorm damages hundreds of homes in your area. Insurance companies are swamped, and their adjusters are rushing through inspections, missing subtle but costly damage to siding, windows, and gutters.
A public adjuster has the time and the singular focus to document every single dent and crack. They often uncover thousands of dollars in legitimate damages that were completely overlooked. This is where their value really shines, turning a frustrating ordeal into a properly funded recovery.
Hiring a public adjuster is a strategic decision for any homeowner facing a difficult storm damage claim. They bring expertise, advocacy, and peace of mind to a process that often feels stacked against you.
Common Questions We Hear About Storm Damage Claims
When your home gets slammed by a storm, trying to figure out the insurance process on top of everything else is just plain overwhelming. After years in this business, I’ve found that most homeowners end up asking the same handful of questions. Let’s get you some clear, straightforward answers so you can move forward with a bit more confidence.
How Long Do I Really Have to File a Claim?
This is probably the most critical question, and honestly, the answer can be a little tricky. Your insurance policy probably has some vague language in it, requiring you to give them “prompt notice” of the damage. But the real deadline—the one that matters legally if they deny your claim—is set by your state’s statute of limitations.
For example, here in Texas, that clock starts ticking the second your insurer puts a denial in writing. A lot of people think that if they’re still negotiating or going through the appraisal process, the clock is paused. It’s not. If you wait too long, you could lose your right to sue them entirely. Don’t sit on it—report the damage right away.
Here’s a hard-learned lesson many homeowners discover too late: Invoking the appraisal process doesn’t stop the statute of limitations clock in most states. If you get a denial letter, you have to act fast to keep your legal options open, no matter what else is going on.
What if My Insurance Company Denies My Claim?
First, take a breath. A denial letter is a negotiating tactic, not the end of the road. The very first thing you need to do is read that letter carefully and pinpoint the exact reason they’re refusing to pay. Usually, they’ll point to a policy exclusion or claim their adjuster decided the damage wasn’t covered.
If you know that denial is wrong, you’ve got a few moves:
- Arm yourself with more proof: Go get more photos, contractor estimates, or even an engineer’s report that proves your case.
- Demand a second look: You can ask the insurance company to send a different adjuster out to re-inspect everything.
- Bring in a professional: This is often the point where calling a public adjuster makes all the difference. We can reopen the claim and challenge their denial with a rock-solid, evidence-based argument they can’t ignore.
Should I Cash the First Check if It’s Way Too Low?
Yes. Go ahead and cash that first check, even if it feels insultingly low. Cashing it does not legally mean you agree that it’s the final and full payment for your storm damage claim.
But—and this is a big but—be incredibly careful about what you sign. If they ask you to sign anything that has words like “full and final settlement” or “release of all claims,” don’t do it unless you’re 100% ready to close the book on this. You can take the money they’re not disputing and keep fighting for the rest you need to actually fix your house.
Do I Really Need to Get a Bunch of Contractor Estimates?
Your insurance company might only ask for one, but getting two or three is one of the smartest things you can do for yourself. When you have multiple bids from reputable, local contractors, you get a real-world picture of what the repairs are actually going to cost in your neck of the woods.
Doing this accomplishes two huge things:
- It proves your point: If all your bids are way higher than what the insurance company offered, it’s powerful evidence that their estimate is just plain wrong.
- It protects you from shady contractors: It helps you spot anyone who is trying to price-gouge or low-ball the job with cheap materials.
Those bids become your best negotiating tool. They shift the whole conversation from their made-up software numbers to the reality of the local market.
When you’re staring down a complicated or denied storm damage claim, you don’t have to take on the insurance company by yourself. The experts at For The Public Adjusters, Inc. work for you, not the insurer, to make sure you get the fair settlement you’re owed. Get a no-cost claim review today by visiting us at https://forthepublicadjusters.com.
Article created using Outrank