

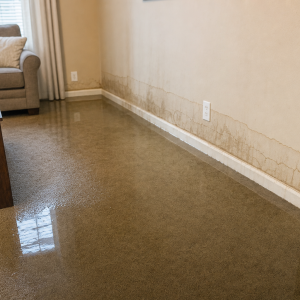
You come home, step onto wet flooring, hear water still running, and realize a pipe didn’t just leak. It failed. The water damage from burst pipe is extensive. The drywall is already swelling, cabinets are wicking up water, and every minute you spend guessing costs you twice. Once in damage and again when the insurance company tries to treat a major water loss like a minor cleanup.
That’s the part most homeowners don’t see coming. The burst pipe is only the first problem. The second problem is the carrier adjuster who acts helpful while trimming scope, ignoring hidden moisture, and pushing a settlement that won’t cover proper dry-out and rebuild. If you’re dealing with water damage from burst pipe conditions in North Carolina or Virginia, you need to act fast, document hard, and stop letting the insurer define the loss for you.
Recognize Water Damage From Burst Pipe Emergency
A burst pipe emergency usually starts with confusion. You see pooled water, stained ceilings, sagging drywall, or buckled floors, but you’re not sure whether this is “bad” or catastrophic. Treat it as catastrophic until proven otherwise.
A small crack can dump a shocking amount of water. Insurance data cited by Hanover says a 1/8-inch crack can release up to 250 gallons in a day, and if wet materials aren’t addressed within 24 to 48 hours, mold growth becomes a serious risk. That same Hanover data says 1 in 60 insured homes, or 1.6%, file water damage claims annually, totaling about 14,000 claims daily nationwide, with water damage and freezing claims averaging $13,954 from 2018 to 2022. It also notes that water damage and freezing made up 27.6% of all homeowners insurance claims in 2022, and 12 inches of water in a 2,500-square-foot home costs $72,162 to remediate. In North Carolina, 71,484 single-family dwelling water damage claims totaled $1,155,808,374.10, while Virginia recorded 32,417 claims totaling $470,973,294.73. Those details are all in Hanover’s water damage numbers resource: Hanover’s water damage claim and remediation statistics.
What makes it an emergency
The obvious answer is water. The less obvious answer is hidden migration. Water doesn’t stay where you found it.
It runs under flooring, behind baseboards, into insulation, down wall cavities, and into adjacent rooms. By the time the carrier’s field adjuster arrives, they may only acknowledge what they can see at eye level unless someone has preserved better evidence.
The first signs you shouldn’t ignore
Look for these immediately:
- Active water flow: You hear running water or see fresh pooling.
- Ceiling distress: Brown stains, bubbling paint, or sagging drywall.
- Floor movement: Cupping, warping, soft spots, or lifted seams.
- Cabinet swelling: Toe kicks and lower panels absorb water quickly.
- Musty air: That smell often means moisture is sitting where you can’t see it.
Practical rule: If water touched building materials for more than a brief moment, assume the insurer will underestimate the drying scope unless you prove otherwise.
Why claim help matters right away
Most homeowners make the same mistake. They focus on cleanup and assume the insurance side will sort itself out.
It won’t. Sudden water losses often turn into disputes over cause, duration, scope, and whether materials can be dried or need replacement. If the carrier starts building the file before you do, you’re already behind.
Ensure Safety and Stop the Leak
People get hurt in burst pipe losses because they rush into cleanup mode. They start moving furniture through standing water, step near outlets, or ignore a wet ceiling that’s ready to come down. Stop doing that.
Your first job is safety. Your second job is cutting off the water source.
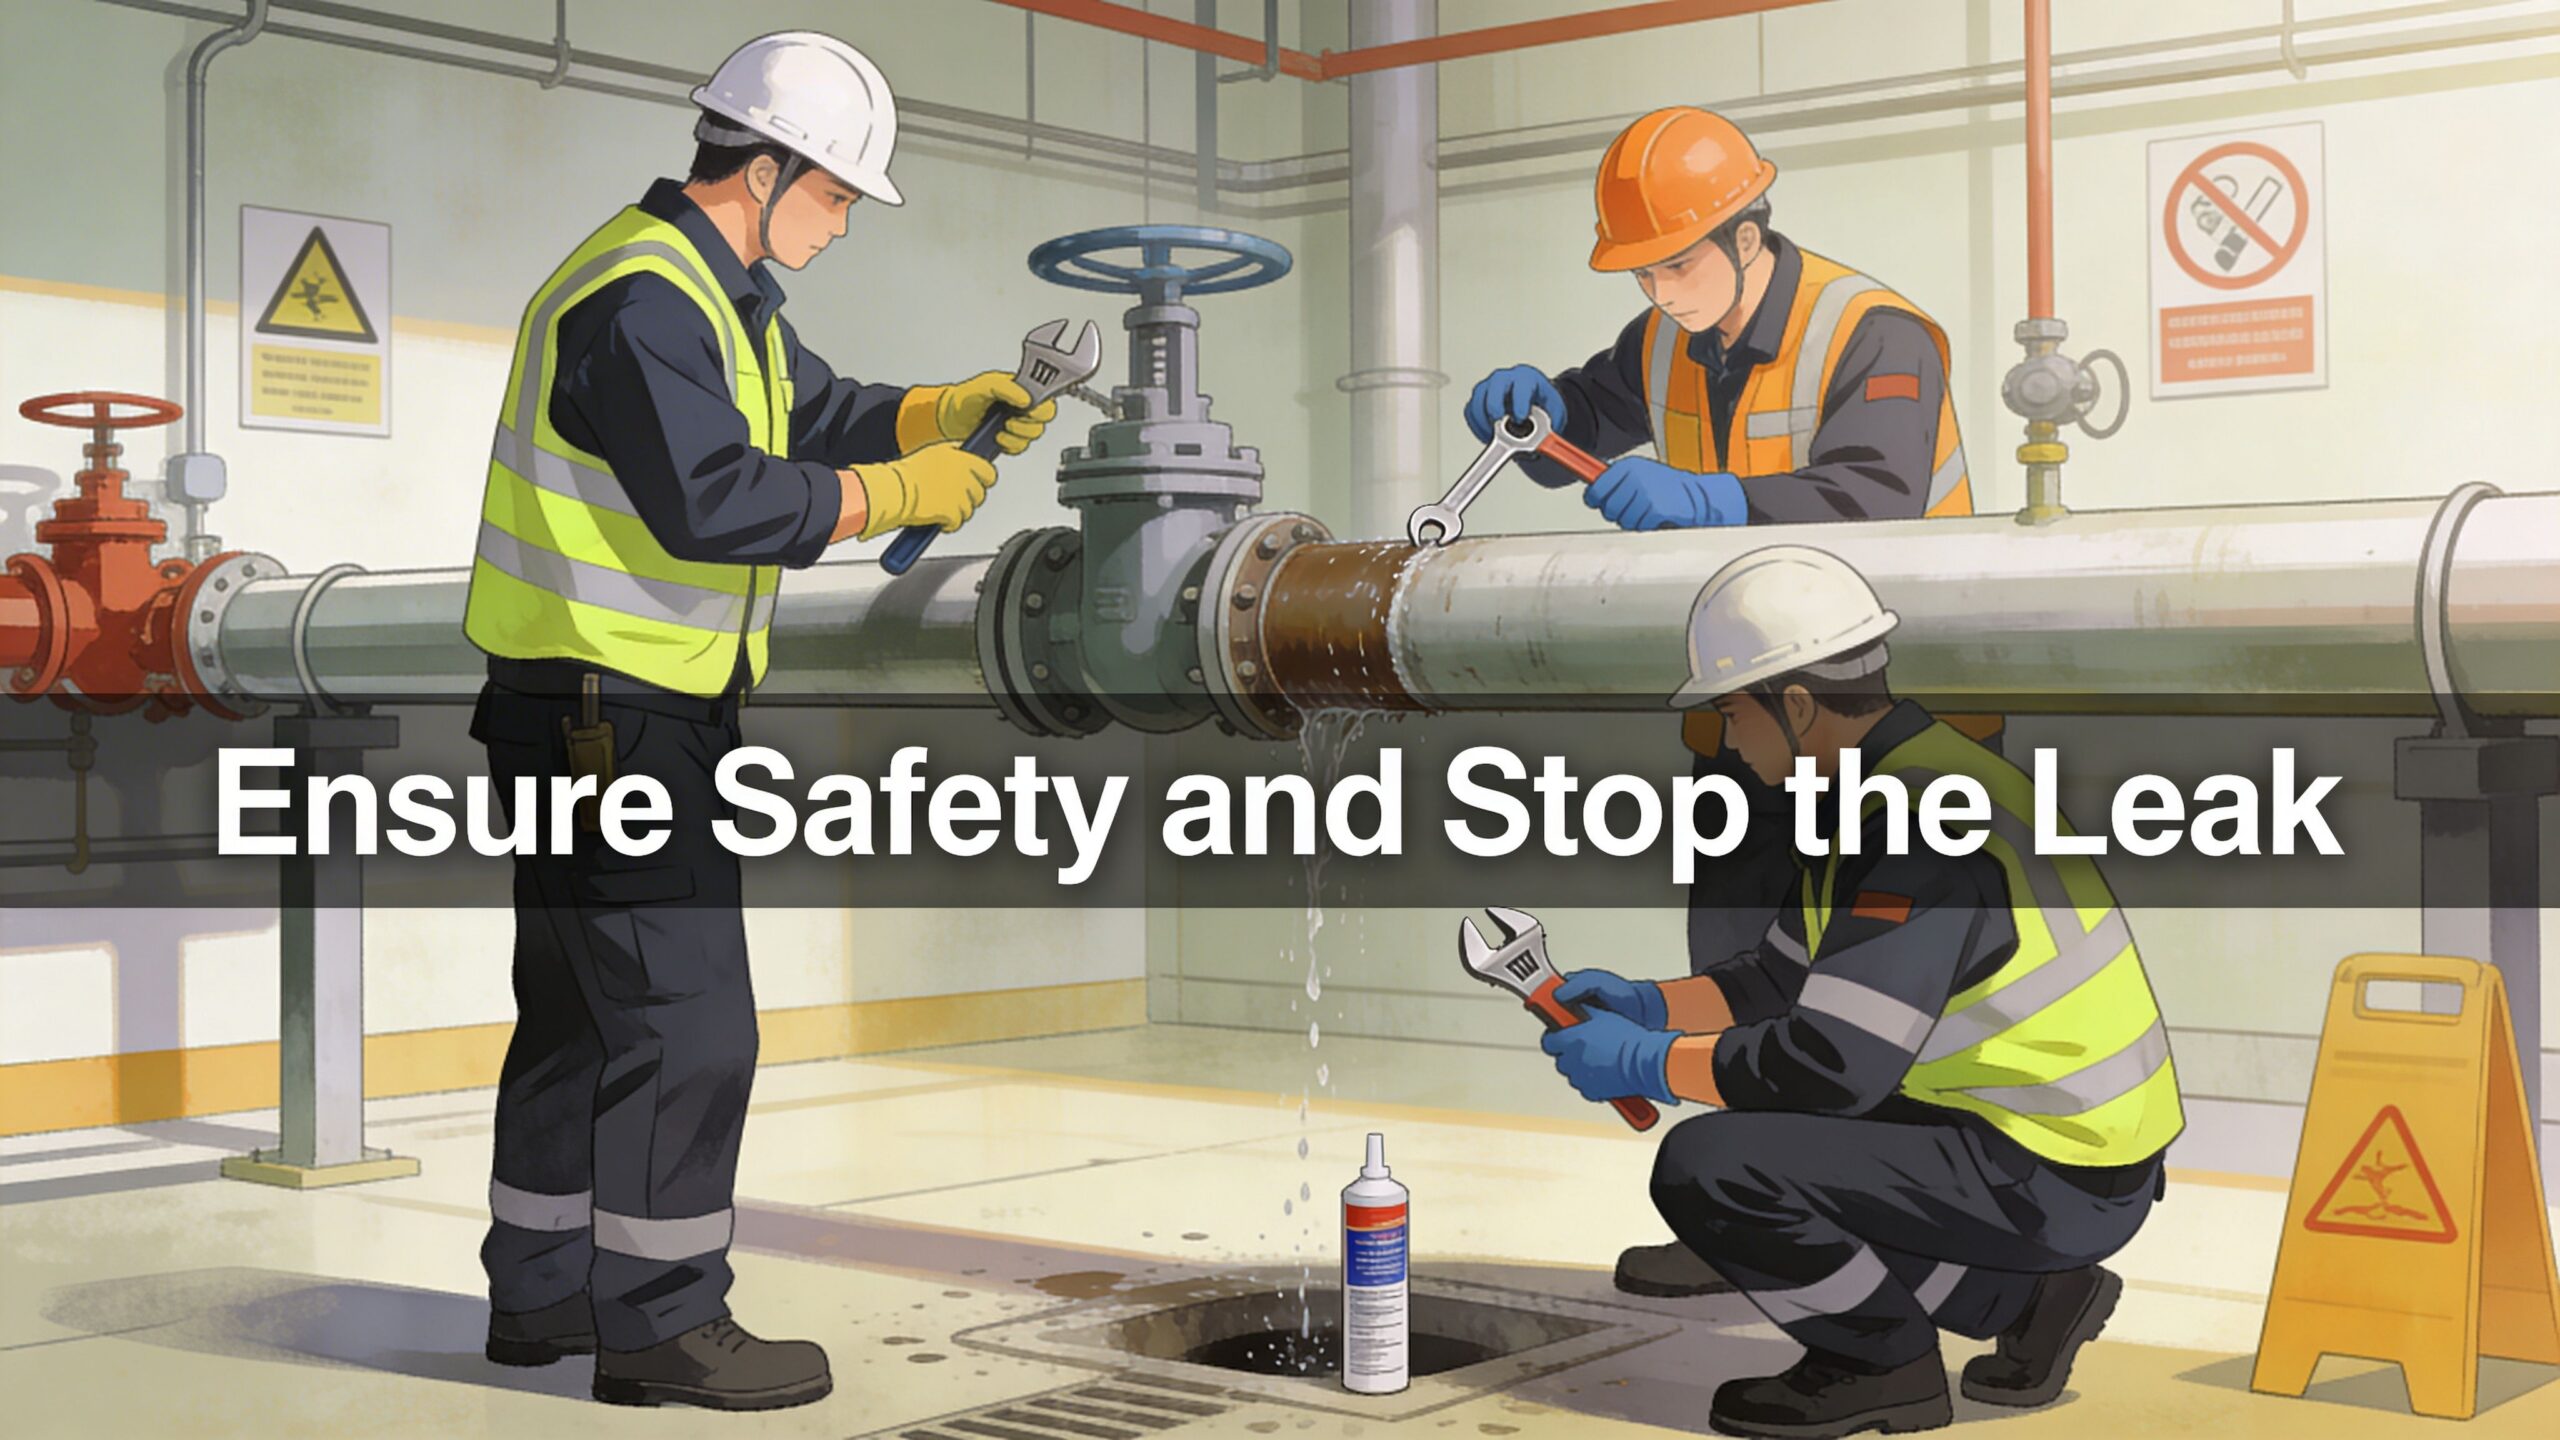
Start with these immediate checks
Before you touch anything, answer three questions:
- Is water near electrical panels, outlets, power strips, or appliances?
- Is the ceiling sagging or cracking under trapped water?
- Is the leak coming from your plumbing, an appliance line, or a municipal source?
If electricity and water are crossing paths, don’t guess. Stay out of the area until it’s safe to cut power from a dry location or a qualified professional handles it.
Shut off the water source fast
If it’s your house line, go to the main shut-off valve. In many homes it’s near the water heater, garage, crawlspace entry, basement wall, or where the main service enters the structure.
Turn the valve fully off. Then open a nearby faucet to help relieve pressure.
If the burst is isolated to a fixture line or appliance supply line, you may be able to shut off only that branch. But if you’re not certain, shut off the whole house. A few minutes without water beats hours of uncontrolled flooding.
Secure utilities before cleanup
Use this order:
- Water first: Stop the source.
- Power second: If water is near energized areas, cut electricity only if you can do it safely from a dry area.
- Gas third: If flooding reached gas appliances or you smell gas, leave and call the utility or fire department.
A lot of claim damage gets worse because homeowners keep HVAC systems running through wet materials. That can spread moisture and contaminate unaffected areas. If the system or ductwork got wet, don’t assume it’s fine.
Pipe material matters more than people think
Pipe type can help explain why a failure happened and what kind of temporary response makes sense. Research on pipe failures found cast iron had the highest failure rate at 28.6 breaks per 100 miles per year, while PVC had the lowest at 2.9 breaks per 100 miles per year. The same research reported PVC and HDPE showed failure probabilities 5.265 times and 9.027 times higher than ductile iron pipes respectively, and overall water main failures fell 20% from 14.0 to 11.1 breaks per 100 miles annually between 2018 and 2023. Those figures come from Utah State’s water infrastructure research: pipe material failure rates and water main break analysis.
That doesn’t mean you diagnose the engineering failure on day one. It means you note what failed. Cast iron, PVC, copper, supply line, angle stop, washing machine hose, attic line. Specifics matter when the insurer starts hinting the problem was “long-term” instead of sudden.
Temporary isolation tactics
If a plumber hasn’t arrived yet, these measures can slow further loss:
- Use a bucket and plastic: Catch active dripping from ceiling bulges or line leaks.
- Wrap a small accessible pipe split: A rubber patch with a clamp can reduce flow short term.
- Close local fixture valves: Toilets, sinks, refrigerators, and washing machines often have separate shutoffs.
- Move contents away: Don’t leave furniture and boxes in the wet zone while you wait.
Here’s a practical walkthrough if you need a visual on shutoffs and emergency response:
What not to do
Homeowners sabotage good claims with bad improvisation.
- Don’t tear out everything immediately: You may destroy evidence of water path and damage extent.
- Don’t stand under bulging ceilings: Those can fail without warning.
- Don’t trust the insurer’s first scope: Their adjuster may write only obvious damage.
- Don’t restart water “to test it”: You already know there’s a problem.
If the water is stopped but the structure is still wet, the emergency isn’t over. It just changed from active flooding to controlled mitigation.
Implement Temporary Mitigation Measures
Once the water is off, your goal changes. Now you’re trying to stop spread, protect salvageable property, and keep hidden moisture from turning a repairable loss into a much bigger one.
That’s where homeowners either save the claim or make it harder to prove.
Control water movement inside the house
Standing water and surface runoff need direction. Don’t wait for a restoration crew to do basic containment.
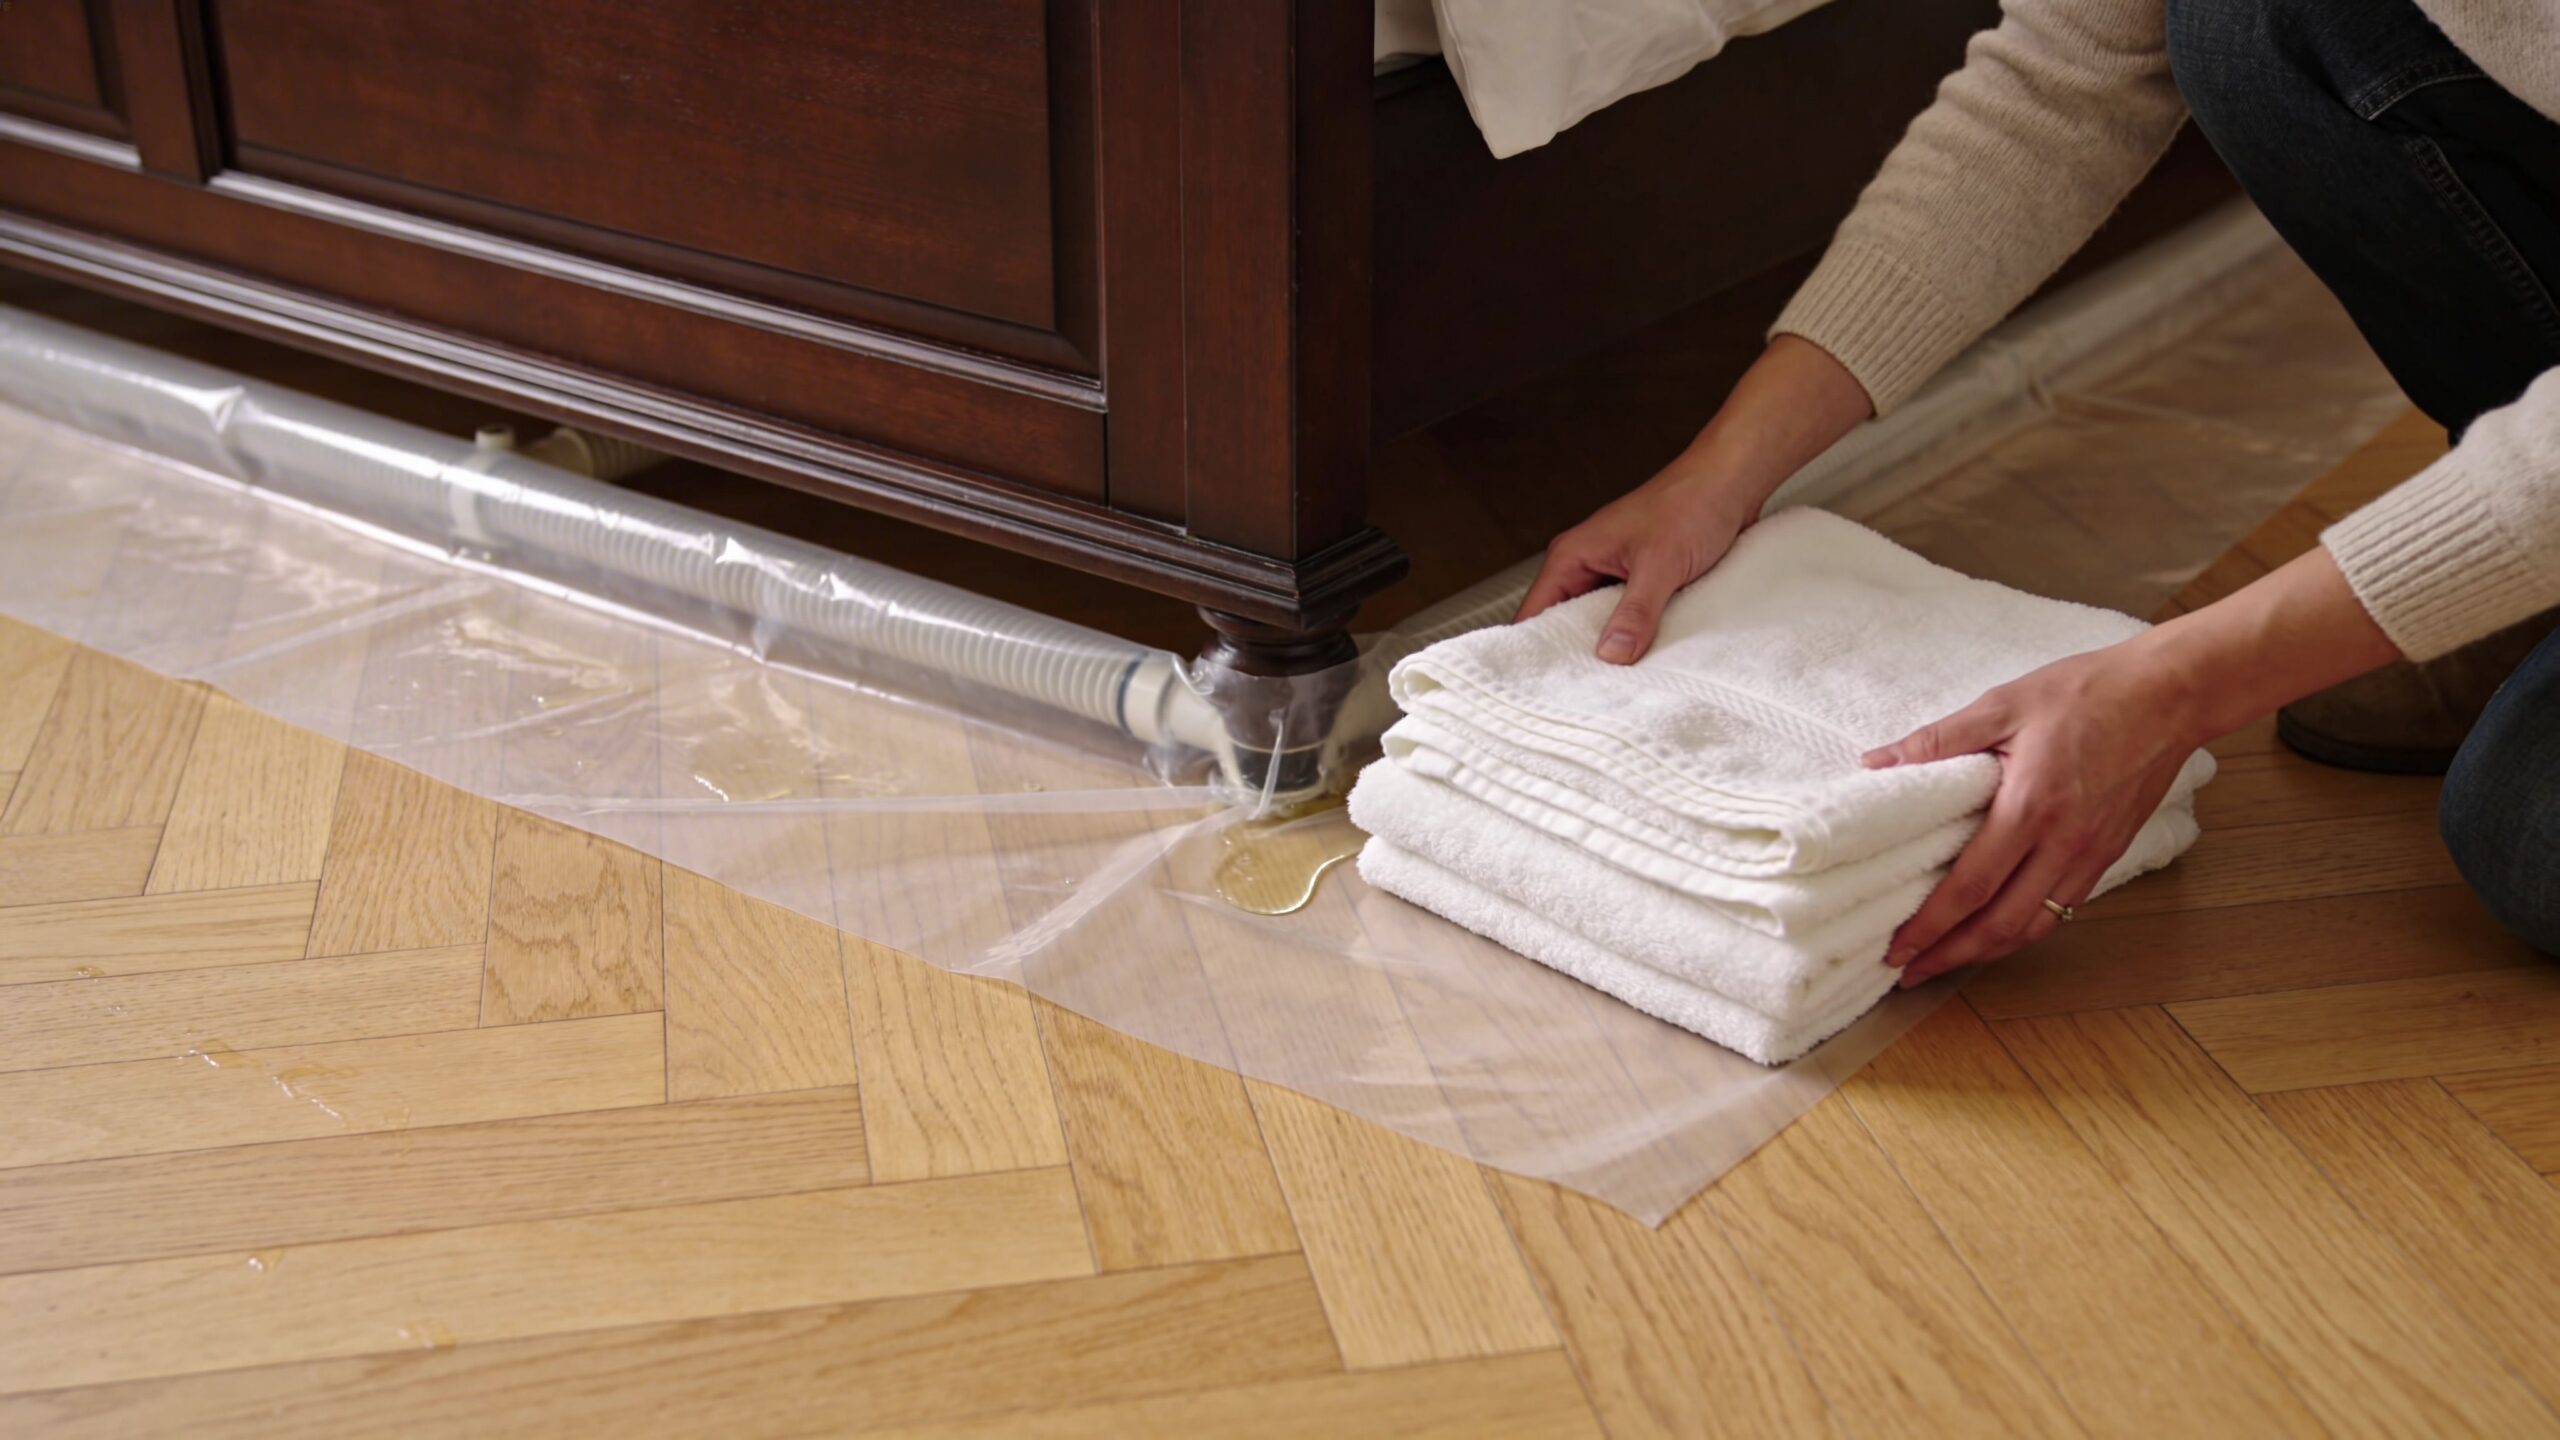
Use what you have on hand:
- Towels and blankets: Build small dams to keep water out of adjacent rooms.
- Plastic sheeting: Protect furniture legs, cabinets, and lower wall areas from splash and transfer.
- Buckets and bins: Catch drips from open ceilings or plumbing access points.
- Wet vac or pump: Remove pooled water if it’s safe to do so.
- Foil or blocks under furniture legs: Keep wood finishes from wicking up water from wet floors.
Prioritize what gets moved first
Don’t waste time carrying low-value clutter while water keeps soaking structural materials.
Move these first:
- Paper items and photos
- Electronics and chargers
- Area rugs
- Upholstered furniture
- Clothing in closets that share a wet wall
- Boxes stored on floors in garages, basements, and crawlspace-adjacent rooms
Hidden leaks are where claims get ugly
Not every burst pipe creates a dramatic flood across the kitchen floor. Some failures spray or seep behind walls, under tubs, inside chases, or above ceilings. Those losses are often under-documented because the damage looks minor on day one.
Emergency Restoration Sciences reported a 30% rise in hidden slow-leak claims in the Southeast, including NC and VA, with IoT leak detectors failing 25% in attics and basements during power outages. It also cited a Suffolk County case where an undetected two-week leak led to $50K in restoration costs versus $15K for rapid response. That’s why moisture meters and thermal imaging matter in water damage from burst pipe losses: hidden slow-leak claim trends and detection gaps.
Wet drywall doesn’t need to look dramatic to be part of a serious claim. A clean paint surface can still hide soaked insulation and framing.
Smart temporary mitigation that helps the claim
This isn’t just about cleanup. It’s about preserving evidence while reducing avoidable damage.
A practical approach looks like this:
| Action | Why it helps |
|---|---|
| Remove standing water | Reduces spread into seams, joints, and lower wall cavities |
| Lift textiles off floors | Prevents dye transfer and additional saturation |
| Open cabinet doors | Improves airflow in enclosed wet areas |
| Photograph before moving items | Preserves condition evidence for contents and building damage |
| Separate wet from dry contents | Helps prove what was directly impacted |
Cut openings only when justified
Sometimes soaked baseboards or drywall need to be opened to release trapped water and improve drying. Don’t make this your first move unless conditions justify it and you’ve documented before touching anything.
If you’re seeing swelling, wick-up, visible staining, or trapped water under a wall cavity, limited removal may make sense. Just photograph everything first, and keep removed materials if they help prove extent and water line.
If you need help understanding how restoration crews usually approach emergency dry-out and mitigation, this overview of a water damage restoration service near me gives homeowners a useful baseline for what competent response should look like.
Conduct Drying Assessment and Document Remediation
Claims are either won or reduced depending on the thoroughness of this assessment. If you only document what your eyes can see, you’ll miss the damage the carrier later refuses to pay for.
Professional water damage work is not “set fans and hope.” It’s inspection, measurement, mapping, and proof.
What proper assessment looks like
The technical standard is straightforward. A solid burst-pipe evaluation combines visual inspection, moisture meter readings, thermal imaging, and moisture mapping. Arko Restoration explains that professionals should first identify water staining and visible damage, then evaluate the structural condition of materials like drywall and wood, then use meters to quantify dampness, and use infrared cameras to reveal hidden moisture in concealed cavities. That documentation creates defensible evidence for claim support: professional methodology for assessing burst pipe damage.
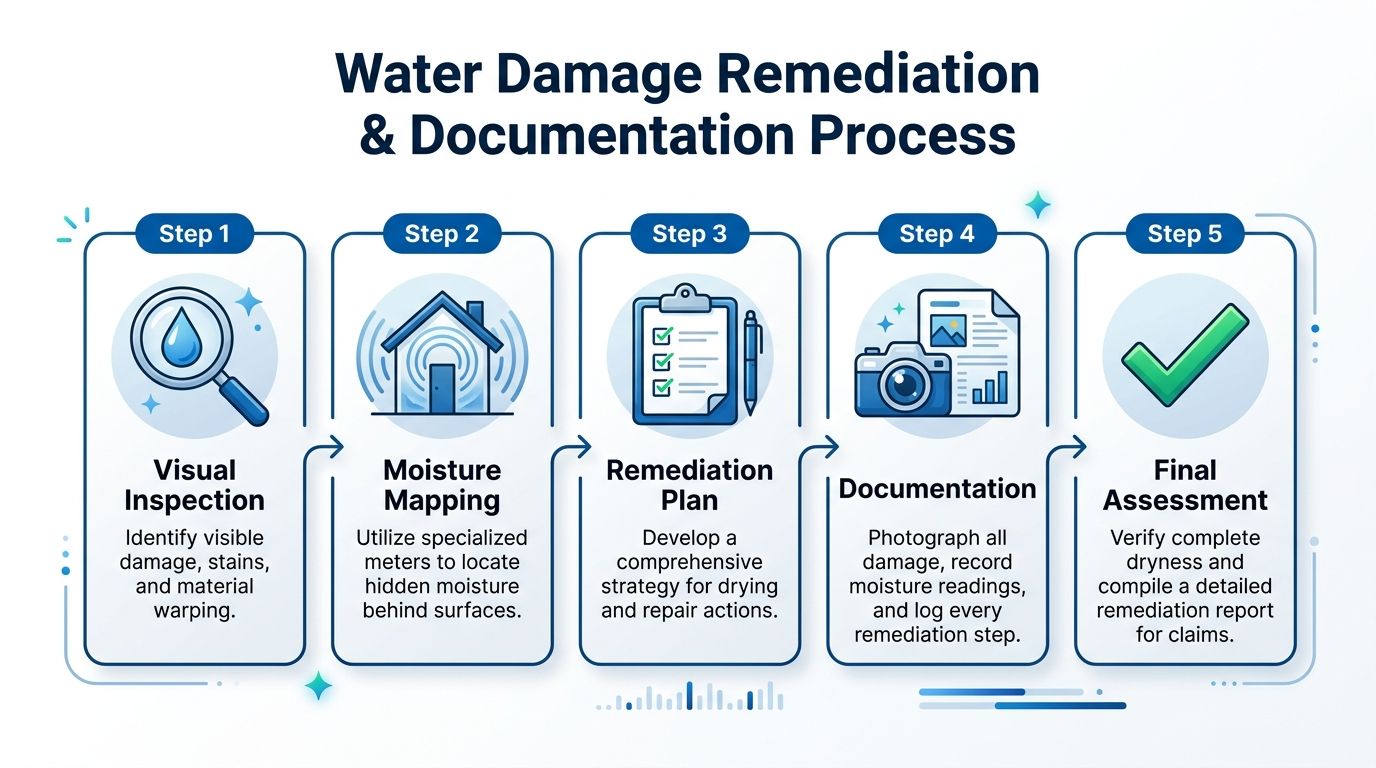
Build a moisture map, not a photo album
Photos alone aren’t enough. You need a record of where moisture traveled.
A basic moisture map should identify:
- Room names: Kitchen, hall bath, bedroom closet, crawlspace entry.
- Affected surfaces: Ceiling, baseboard, subfloor, cabinet toe kick, drywall, insulation.
- Moisture readings: Logged by location and date.
- Thermal anomalies: Areas that need confirmation with a meter.
- Drying equipment placement: Air movers, dehumidifiers, containment.
Carriers frequently claim, ‘We only saw damage in one room.’” Moisture mapping is how you prove it moved farther.
What to photograph every single day
Use your phone, but use it like evidence collection, not casual snapshots.
Take:
- Wide shots of each room.
- Mid-range shots showing relation between leak origin and damaged areas.
- Close-ups of warping, staining, swelling, delamination, and removed materials.
- Photos of meter readings on surfaces.
- Photos of equipment setup and daily progress.
Keep timestamps on. Don’t edit the images.
Documentation rule: If a contractor removed it, dried it, or said it was wet, you need a dated record of that fact.
Track materials by salvageability
Not every wet material gets the same treatment. Hardwood may cup and later require repair or replacement depending on exposure and drying results. Drywall that wicked water high enough may need removal. Insulation often loses value fast once saturated.
For flooring in particular, homeowners often get stuck between “it will dry” and “it’s ruined.” If your floors took on water, a resource on water damage floor repair can help you understand what professionals look for when deciding between drying, refinishing, board replacement, or full replacement.
Your remediation log should include more than invoices
A thin file gets lowballed. A strong file shows activity, conditions, and necessity.
Keep a running log with entries like these:
- Date and time of discovery
- When water was shut off
- Who inspected the damage
- What tools were used
- Which materials tested wet
- What was removed and why
- What drying equipment was placed
- When follow-up readings were taken
- When dry standard was confirmed
Why this documentation changes negotiations
Insurance company adjusters often scope visible damage and ignore what technical testing would have shown. If your file contains room-by-room evidence, meter readings, thermal images, and a daily mitigation log, the carrier has a much harder time dismissing hidden moisture as speculative.
That’s the difference between a cosmetic estimate and a full loss presentation.
Prepare Insurance Documentation and Dispute Lowball Settlements
This is the part homeowners hate most. The water is stopped, the house is torn up, and now the insurer starts talking like they’re doing you a favor by paying less than the damage requires.
Expect that. State Farm, Allstate, and plenty of other carriers are not on your side when the scope gets expensive. They delay, they narrow causation, and they pretend hidden moisture is some optional add-on instead of part of the same loss.
Read the claim like a dispute, not a courtesy process
A burst pipe claim usually turns on a few pressure points:
- Was the damage sudden and accidental?
- Is the insurer trying to relabel it as long-term seepage or wear?
- Did they omit parts of the dwelling scope?
- Did they undervalue contents?
- Did they ignore mitigation and tear-out access costs?
That’s why you don’t just hand over a contractor invoice and wait. You prepare a claim package that forces the carrier to respond to evidence, not assumptions.
Organize the file by damage category
Build separate folders or PDFs for:
| Category | What belongs in it |
|---|---|
| Dwelling | Photos, moisture map, contractor scope, repair estimates, mitigation logs |
| Personal property | Item lists, photos, purchase support if available, condition notes |
| ALE or business interruption if applicable | Temporary housing or operating disruption records, receipts, timeline |
| Plumbing cause | Plumber findings, failed part photos, notes on point of origin |
| Correspondence | Emails, letters, adjuster notes, claim diary |
When the insurer mixes everything together, details get buried. Keep it cleaner than they do.
Push back on the usual lowball tactics
Here’s what insurers often do after water damage from burst pipe losses, and how to answer it.
-
“This looks old.”
Ask them to identify the exact evidence supporting long-term damage. Staining alone doesn’t prove excluded cause. -
“We only owe for visible damage.”
Wrong approach. Hidden wet materials tied to the same sudden event belong in the scope when supported by proper inspection. -
“Drying should have fixed it.”
Drying doesn’t reverse swelling, delamination, microbial contamination concerns, or finish damage. -
“That room wasn’t directly flooded.”
Water migration doesn’t care about room labels. If your documentation shows spread, force them to address it.
If the insurer’s estimate is thin, don’t argue emotionally. Attack the omissions line by line.
Coverage questions matter, but policy language matters more
A practical homeowner resource on when homeowners insurance covers broken pipes can help you frame the usual coverage issues. But don’t stop at general articles. Pull your own policy and endorsements.
Look for language involving:
- Sudden and accidental discharge
- Tear-out and access
- Mold or fungus limitations if raised
- Duties after loss
- Exclusions for repeated seepage or neglect
- Ordinance or law if walls, insulation, or systems trigger code upgrades
Use formal proof, not scattered emails
If the carrier keeps dragging its feet, tighten the submission. Put your position into one organized claim package with exhibits.
For homeowners who haven’t dealt with formal submissions before, this guide to proof of loss forms helps explain what carriers expect and how that document can become part of a stronger dispute strategy.
NC and VA homeowners need to watch for municipal-source losses
Not every burst-related water loss starts in your own plumbing. Some start with aging infrastructure or nearby public water lines.
A neglected issue in consumer guidance is utility liability. Crossroads notes that homeowners may need to prove actual or constructive notice of a defect, such as repair history or prior pressure problems, when pursuing accountability for utility-caused damage. It also cites a 2025 ASCE report stating 20% of U.S. water infrastructure failures stem from unaddressed corrosion, and says these non-private claims often leave unrecovered losses averaging $15,000 per incident. That’s why documentation of outside-line conditions, neighborhood events, and prior municipal issues matters: utility liability and burst pipe property damage challenges.
If you suspect a municipal line contributed, preserve:
- Photos of street flooding or curb discharge
- Neighbor statements, if available
- Utility notices or repair activity
- Dates and times of reported pressure issues
- Public work presence near the loss
That evidence may matter both for your insurance dispute and any separate utility claim.
Don’t let the insurer write the final version of the loss
If the carrier has already issued payment and it doesn’t cover real repair costs, that isn’t the end. It’s the start of the dispute.
You can challenge scope, pricing, causation assumptions, and omitted damage. You should, especially when the carrier’s estimate ignores moisture migration, tear-out, or material matching.
Expert Engagement Tips for Repair and Claims
You need two things after a burst pipe. A competent repair path and a claim strategy that doesn’t let the insurance company minimize the damage.
Most homeowners bring in the plumber first, maybe a mitigation crew second, and nobody focused on how the loss gets documented for settlement. That’s backwards when the claim is already getting trimmed.
Pick experts by evidence habits
Don’t hire based on who answers the phone first. Ask blunt questions.
- Do they use moisture meters and thermal imaging?
- Do they document daily drying progress?
- Do they produce room-by-room notes?
- Will they explain what must be removed versus what can be dried?
- Will they give you photos and readings, not just a bill?
If they can’t answer cleanly, keep looking.
Coordinate inspections before walls disappear
A bad sequence hurts claims. If materials are removed before anyone records the extent of saturation, the insurer later acts like the tear-out was excessive.
That’s one reason some homeowners bring in a licensed public adjuster early. For example, For The Public Adjusters, Inc. handles residential and commercial property damage claims, documents visible and hidden water damage, and communicates with carriers on disputed scope and valuation issues. If you want the basic role explained in plain English, this overview of what does a public adjuster do is a useful starting point.
What a real review should include
A serious claim review should look at:
| Review area | What you want answered |
|---|---|
| Cause | Was this sudden, accidental, and supportable? |
| Scope | Which rooms and materials were affected beyond the obvious area? |
| Coverage | What policy sections and endorsements matter? |
| Valuation | Did the insurer leave out repair items or price them too low? |
| Strategy | What evidence should be added before the dispute hardens? |
A real customer voice matters
Marketing copy is cheap. Actual client feedback carries more weight.
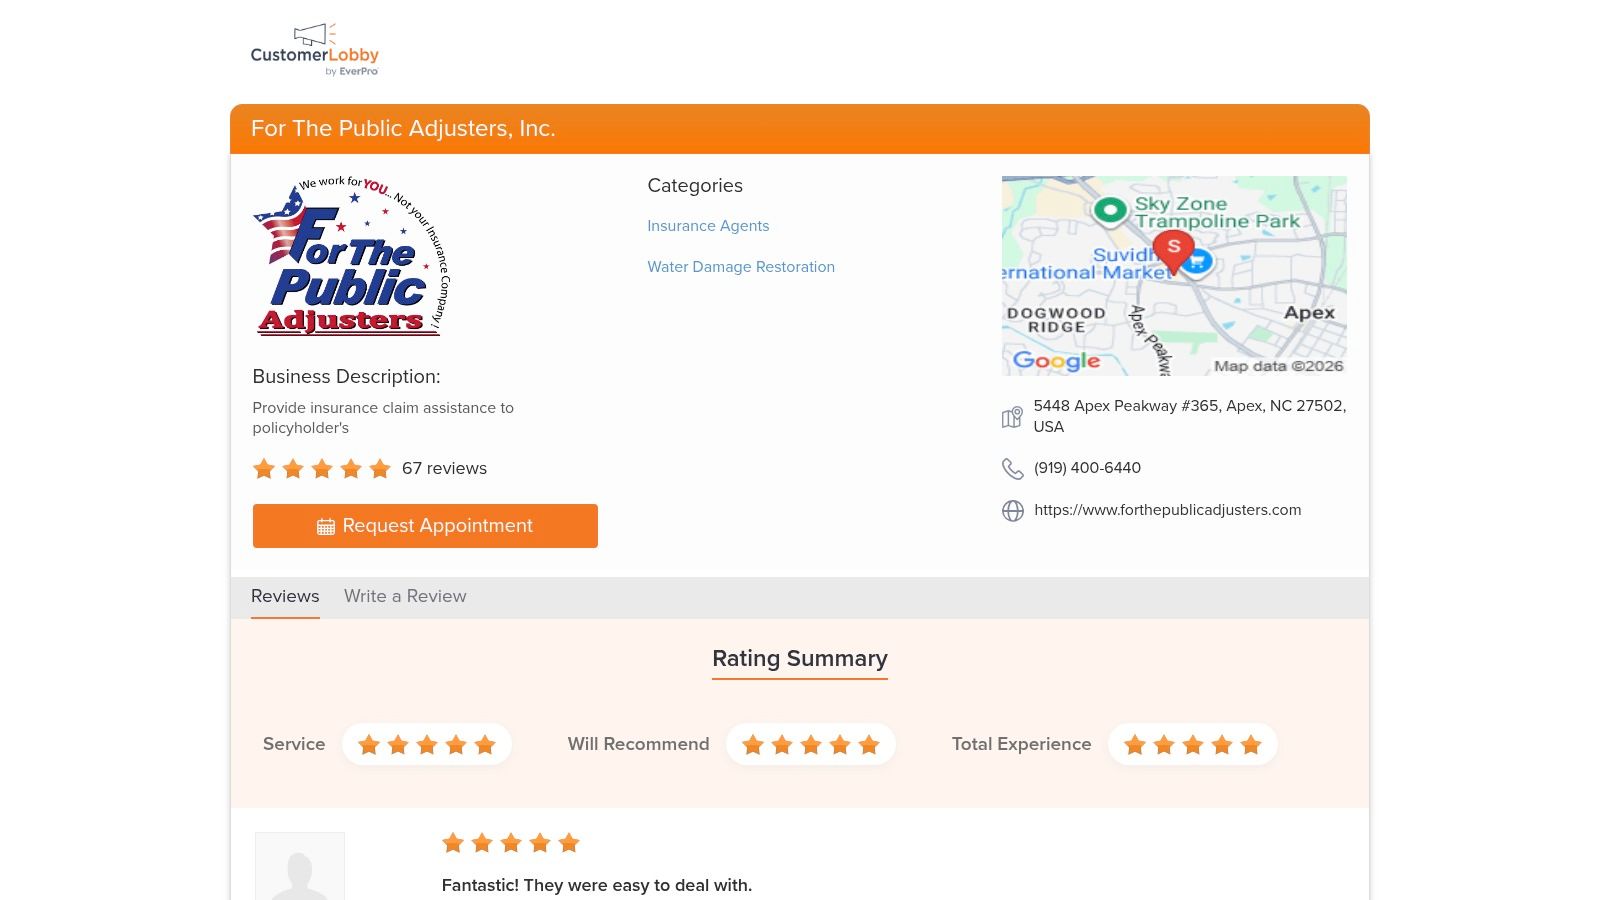
Read reviews carefully. Look for comments about communication, documentation quality, response speed, and whether the adjuster pushed back when the insurer stalled or underpaid. Those are the traits that matter in a burst pipe dispute.
Fast help is useful. Documented help is what actually changes claim outcomes.
When to bring in claim help
Don’t wait until the carrier has boxed you in.
Bring in expert claim help when:
- the insurer says damage is old or excluded
- the estimate ignores hidden moisture
- multiple rooms were affected
- flooring, cabinets, or built-ins are involved
- the adjuster keeps revising downward
- a municipal source may be involved
- repairs can’t proceed on the amount offered
That’s usually the moment homeowners realize this isn’t just a plumbing problem. It’s a valuation fight.
Conclusion and Next Steps
A burst pipe loss moves fast. So should you. Shut off the water, secure the area, stop further migration, document every wet material, and don’t let the insurance company reduce a serious structural loss to a cosmetic patch job.
The hard truth is simple. If you don’t control the evidence, the carrier controls the story. And that story usually ends with a low number, missing scope, and a house that still isn’t fully repaired.
If you’re dealing with water damage from burst pipe conditions and the insurer is delaying, underpaying, or denying parts of the loss, contact For The Public Adjusters, Inc. for a no-cost claim review. They represent policyholders in North Carolina and Virginia, help document hidden and visible property damage, and assist homeowners and business owners in disputing lowball insurance settlements.

Trackbacks/Pingbacks